What seasoning is and when to do it
Seasoning is a thin layer of oil that has been heated until it bonds to the metal. It is not a thick coating, and it is not an instant nonstick finish.
Season a pan when it is brand-new, after rust, after stripping old seasoning, or when the surface looks dry and food starts to cling. If the pan is already dark and slick, a light refresh is usually enough.
A well-seasoned skillet usually looks deep brown to black with a subtle sheen rather than a wet shine. If it feels sticky or gummy, the most common cause is too much oil or not enough heat.
- Good times to season: new pan, after rust, after stripping, after a dull patch appears
- Aim for a thin, baked-on finish, not a glossy oil film
- The finish improves with regular use and careful drying
Gather the right tools and prep the pan
Start with a clean skillet, a towel, paper towels, and a neutral high-smoke-point oil such as canola, grapeseed, vegetable, or sunflower oil. You also need an oven and a sheet pan or foil to catch any drips.
Wash the pan with warm water and a little mild dish soap if needed, especially if there is stuck-on food or greasy residue. Mild soap is fine for cast iron. Scrub, rinse, then dry it immediately and thoroughly.
For better results, warm the dry pan over low heat for 1 to 2 minutes so hidden moisture evaporates. The surface should look completely dry, including the handle and outer rim. Any dark wet patch can lead to rust later.
If you see orange rust or rough brown spots, scrub them off before seasoning. A non-scratch scrubber or a little coarse salt can help with light rust. Heavy rust may need more intensive cleaning before you season again.
Sources:
Apply just enough oil to look almost dry
Pour a very small amount of oil into the pan. For a 10-inch skillet, start with about 1 teaspoon. For a 12-inch skillet, use about 1 1/2 teaspoons. If you are coating the exterior too, add another teaspoon at most. More oil does not make better seasoning.
Use a folded paper towel or lint-free cloth to rub the oil over every surface you want to protect, including the cooking surface, sidewalls, handle, and outer base if you are doing a full reseasoning. Then wipe again with a clean towel until it looks almost dry.
The goal is a whisper-thin film. If the pan looks wet, glossy, or pooled in corners, you have used too much. A properly oiled pan may look as if you wiped the oil off, but a trace remains on the metal.
If the pan is brand-new and rough, one thin coat can look uneven after baking. That is normal. Multiple thin coats work better than one heavy coat.
- Use a neutral oil, not a thick layer of butter or shortening
- Wipe out corners, handle grooves, and the underside of the rim
- If it looks shiny-wet before baking, keep wiping
Bake it to lock in the finish
Heat the oven to 450 F. Put foil or a sheet pan on the lower rack to catch drips, then place the skillet upside down on the middle rack. Upside down helps prevent oil from collecting in the base and turning sticky.
Bake for 1 hour, then turn off the oven and let the pan cool inside for 30 to 60 minutes. That slow cool helps the oil set into a harder layer. Do not rush the cooling by running it under water.
After cooling, the pan should feel dry and look a little darker and more even. It may not be perfectly smooth after one round, especially if it is new or scratched. That is fine.
If you notice light smoke during baking, that can happen. Heavy smoke usually means too much oil or an oven that runs hotter than expected. In that case, wipe the pan more thoroughly next time or lower the heat slightly.
- Set the oven to 450 F
- Bake 1 hour
- Cool in the oven 30 to 60 minutes
- Repeat once or twice if you want a darker, smoother finish
Maintenance, quick touch-ups, and variations
Once the pan is seasoned, everyday cooking helps maintain it. Frying eggs, searing meat, and roasting vegetables all reinforce the finish as long as you clean and dry the pan well after use. A brand-new pan may benefit from two or three baking rounds before its first heavy use.
For a fast touch-up, heat the clean dry pan over medium heat for about 2 minutes, wipe in a few drops of oil, then heat for another 3 to 5 minutes until the oil looks dry and the surface only barely shimmers. This is a maintenance step, not a full seasoning.
If your pan has a rough factory texture, expect the finish to look patchy at first. That does not mean it failed. Keep using very thin coats and the surface will usually darken and even out over time. If food still sticks badly, the pan may simply need more preheating during cooking, not more oil.
For a full exterior reseasoning, you can coat the outside and handle as well, but it is optional unless the pan has rust or heavy wear. Most home cooks focus on the cooking surface and the upper walls because that is where food contact matters most.
- A quick touch-up is fine after washing a well-seasoned pan
- Use the pan regularly to build seasoning naturally
- If food sticks, preheat the skillet longer before adding ingredients
Common mistakes, fixes, and storage
The most common mistake is using too much oil. That leaves a sticky, tacky surface instead of a hard finish. The fix is simple: wash the pan, dry it, then bake another very thin coat. Another frequent mistake is not drying the skillet fully after washing, which invites rust.
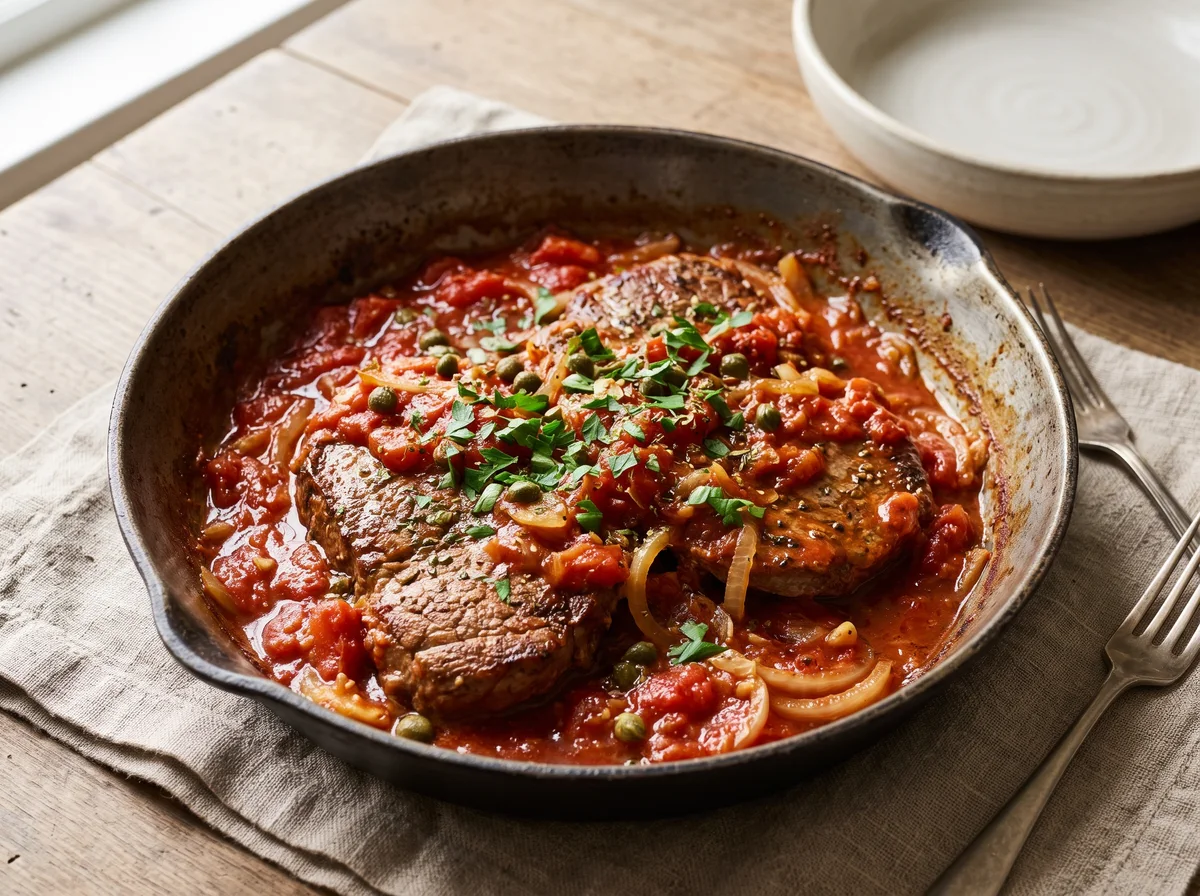
Acidic foods are fine in cast iron for many dishes, but storing tomato sauce or other wet acidic food in the pan can dull seasoning. Cook and serve in the pan, then wash it soon after. Do not leave food sitting in the skillet overnight.
Store cast iron in a dry cabinet or on an open shelf. If you stack pans, place a paper towel between them so trapped moisture does not mark the finish. If the pan is put away with a damp spot, reheat it on the stove for a minute, dry it again, and wipe on a drop of oil.
If rust returns, do not panic. Scrub it off, dry the pan completely, and season again. Cast iron is forgiving, but it rewards patience and thin layers more than force.
| Problem | Likely cause | Fix |
|---|---|---|
| Sticky or gummy surface | Too much oil or not enough heat | Wash, dry, and repeat with a thinner coat at 450 F |
| Patchy dull spots | Uneven wiping or a rough pan surface | Apply another whisper-thin coat and bake again |
| Orange rust | Moisture left on the pan | Scrub rust away, dry over heat, then reseason |
| Black flakes | Old seasoning lifted from moisture or buildup | Clean thoroughly and rebuild seasoning with thin coats |
Sources:
Common questions
Do I need to season a new cast iron pan before using it?
Many new skillets come pre-seasoned, but an extra coat or two can help strengthen the surface. If the pan is bare cast iron, dull, or newly stripped, season it before regular cooking.
Can I use olive oil to season cast iron?
You can, but a neutral oil is usually easier for a first seasoning because it wipes thinly and handles the baking step well. The key is a very light coat, not the oil alone.
How often should I reseason cast iron?
Not after every meal. Reseason when the pan looks dry, rust appears, or food starts sticking more than usual. Regular cooking, washing, drying, and a thin wipe of oil are often enough.