Corn muffins
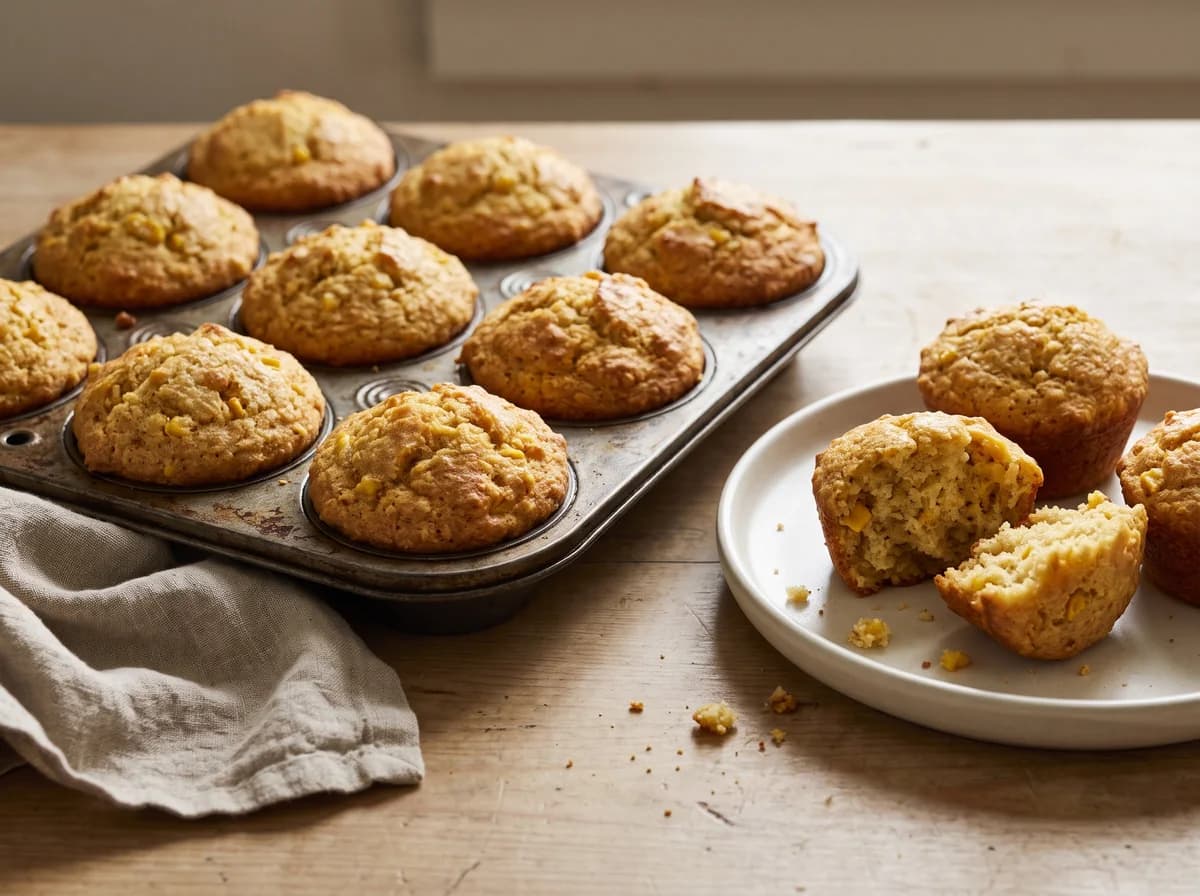
Tender, lightly sweet corn muffins with a moist crumb and a crisp, browned top. This batch makes 12 standard muffins, using cornmeal for flavor and texture plus a little butter and milk for a classic bakery-style finish.
Estimated calories and US ingredient costs.
This recipe is sized for one standard 12-cup muffin pan. If doubling, bake in two pans rather than overfilling one pan, and keep the oven temperature the same. For mini muffins, use a mini muffin pan and start checking several minutes earlier because the tops brown faster and the centers set more quickly.
Your whole cook, in one place.
Ingredients, steps and a live timeline. Ready for 12 people.
Step timeline
Cooking order
10 leftHeat the oven and prepare the pan
~2 minHeat the oven and prepare the pan.
Set the oven to 400 F.
Grease a standard 12-cup muffin pan with the softened 1 tbsp butter, getting the corners and the top surface of the tin so the muffins release cleanly.
If you prefer liners, use them, but buttering the pan gives a better browned edge.
Mix the dry ingredients
~2 minMix the dry ingredients.
In a medium bowl, whisk together the 1 cup all-purpose flour, 1 cup yellow cornmeal, 1/4 cup granulated sugar, 1 tbsp baking powder, and 1/2 tsp fine salt until the leavening is evenly distributed.
Ingredients
- 1 cupAll-purpose flour
- 1 cupYellow cornmeal
- 1/4 cupGranulated sugar
- 1 tbspBaking powder
- 1/2 tspFine salt
Combine the wet ingredients
~2 minCombine the wet ingredients.
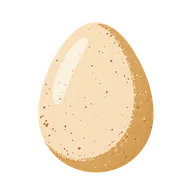
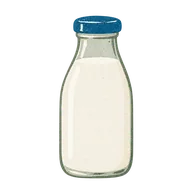
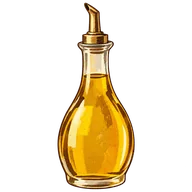
In a second bowl, whisk the 1 large egg, 1 cup whole milk, 1/4 cup melted unsalted butter, and 2 tbsp neutral oil until smooth.
The oil helps keep the crumb tender even after the muffins cool, while the butter adds flavor.
Ingredients
- 1Large egg
- 1 cupWhole milk
- 2 tbspNeutral oil
Make the batter
~1 minMake the batter.
Pour the wet mixture into the dry ingredients and stir with a spatula just until most of the flour disappears.
Fold in the 1 cup drained canned corn kernels.
Stop mixing as soon as the batter comes together; a few small streaks of flour are fine and will finish hydrating in the oven.
Ingredients
- 1 cup total for recipeAll-purpose flour
- 1 cupCanned corn kernels
Portion the muffins
~1 minPortion the muffins.
Divide the batter evenly among the 12 prepared cups, filling each about 3/4 full.
If the batter looks thick, use two spoons or a scoop and tap the pan lightly on the counter once to settle the tops without deflating them.
Bake until browned and set
~18 min cookBake until browned and set.
Bake for 16 to 18 minutes, rotating the pan once halfway through if your oven has hot spots.
The muffins are done when the tops are golden brown, the centers spring back when lightly pressed, and a toothpick inserted in the center comes out clean or with a few moist crumbs.
Check the dish
After ~18 minCheck Corn muffins and continue when ready.
Cool briefly and serve
~5 min cookCool briefly
Let the muffins rest in the pan for 5 minutes, then move them to a rack
Split and add butter if you want, but the muffins…
After ~5 minSplit and add butter if you want, but the muffins are designed to be flavorful on their own.
Serve meal
~1 minOnce all dishes are cooked and ready, plate and serve the meal together.
Corn muffins: serve.
Corn muffins: Serve warm for the softest texture, or cool fully for a sturdier crumb.
Make the next one yours.
Create a custom meal with what you have.
Read the traditional recipe
Ingredients
For 12 people
- 1 cup all-purpose flour
- 1 cup yellow cornmeal
- 1/4 cup granulated sugar
- 1 tbsp baking powder
- 1/2 tsp fine salt
- 1 large egg
- 1 cup whole milk
- 1/4 cup unsalted butter, melted and cooled slightly
- 2 tbsp neutral oil
- 1 cup canned corn kernels, drained
- 1 tbsp unsalted butter, softened, for greasing the muffin pan
Method
- Heat the oven and prepare the panSet the oven to 400 F. Grease a standard 12-cup muffin pan with the softened 1 tbsp butter, getting the corners and the top surface of the tin so the muffins release cleanly. If you prefer liners, use them, but buttering the pan gives a better browned edge.
- Mix the dry ingredientsIn a medium bowl, whisk together the 1 cup all-purpose flour, 1 cup yellow cornmeal, 1/4 cup granulated sugar, 1 tbsp baking powder, and 1/2 tsp fine salt until the leavening is evenly distributed.
- Combine the wet ingredientsIn a second bowl, whisk the 1 large egg, 1 cup whole milk, 1/4 cup melted unsalted butter, and 2 tbsp neutral oil until smooth. The oil helps keep the crumb tender even after the muffins cool, while the butter adds flavor.
- Make the batterPour the wet mixture into the dry ingredients and stir with a spatula just until most of the flour disappears. Fold in the 1 cup drained canned corn kernels. Stop mixing as soon as the batter comes together; a few small streaks of flour are fine and will finish hydrating in the oven.
- Portion the muffinsDivide the batter evenly among the 12 prepared cups, filling each about 3/4 full. If the batter looks thick, use two spoons or a scoop and tap the pan lightly on the counter once to settle the tops without deflating them.
- Bake until browned and setBake for 16 to 18 minutes, rotating the pan once halfway through if your oven has hot spots. The muffins are done when the tops are golden brown, the centers spring back when lightly pressed, and a toothpick inserted in the center comes out clean or with a few moist crumbs.
- Cool briefly and serveLet the muffins rest in the pan for 5 minutes, then move them to a rack. Serve warm for the softest texture, or cool fully for a sturdier crumb. Split and add butter if you want, but the muffins are designed to be flavorful on their own.
Before you cook
What to get ready
Mixing bowls, whisk, spatula, the specified loaf or muffin pan and cooling rack.
Drain corn thoroughly and grease the muffin pan before mixing wet and dry ingredients.
If something needs adjusting
Muffins are tough with tall tunnels
Stir only until flour is moistened and portion promptly; overmixing strengthens gluten.
Results vary with flour measurement
Use the recipe's flour weight when supplied. Otherwise spoon flour into a measuring cup and level it rather than packing it tightly.
Store for later
Cool completely before wrapping to prevent condensation. Refrigerate moist fruit or vegetable loaves for storage, or freeze individual slices; discard any moldy portions and the affected loaf.
Make the ingredients go further
Use remaining corn in potato chowder.
Next use for your ingredients: Potato and corn chowder →
Calculate this meal with your own prices →
Cooking notes updated October 24, 2026. How we create recipes.
Tips, swaps and questions
A little kitchen know-how
For a more savory muffin, reduce the sugar to 2 tbsp and add 1/2 cup shredded cheddar to the batter. If you want a sweeter, bakery-style top, sprinkle the unbaked muffins with a little extra sugar before baking; do not add more liquid, or the centers can turn gummy.
Make it work for you
If you only have buttermilk, use 1 cup buttermilk instead of the milk and reduce the baking powder to 2 tsp total if you want a slightly tangier flavor. For a dairy-light version, use 1 cup unsweetened oat milk and keep the melted butter for flavor, or replace it with the same amount of neutral oil for a softer, less rich crumb.
Use more of your all-purpose flour and yellow cornmeal in sweet potato cornbread.
Can I make these corn muffins ahead?
Yes. Bake, cool, and store them airtight at room temperature for up to 2 days, or refrigerate for 3 to 4 days within 2 hours of baking. Rewarm at 325 F for a few minutes until heated through. For longer storage, freeze the cooled muffins for up to 2 months and thaw in the refrigerator or at room temperature before reheating.
Times are estimates. Check ingredients for allergens. For safe temperatures and storage, see FoodSafety.gov.