Tuna onigiri
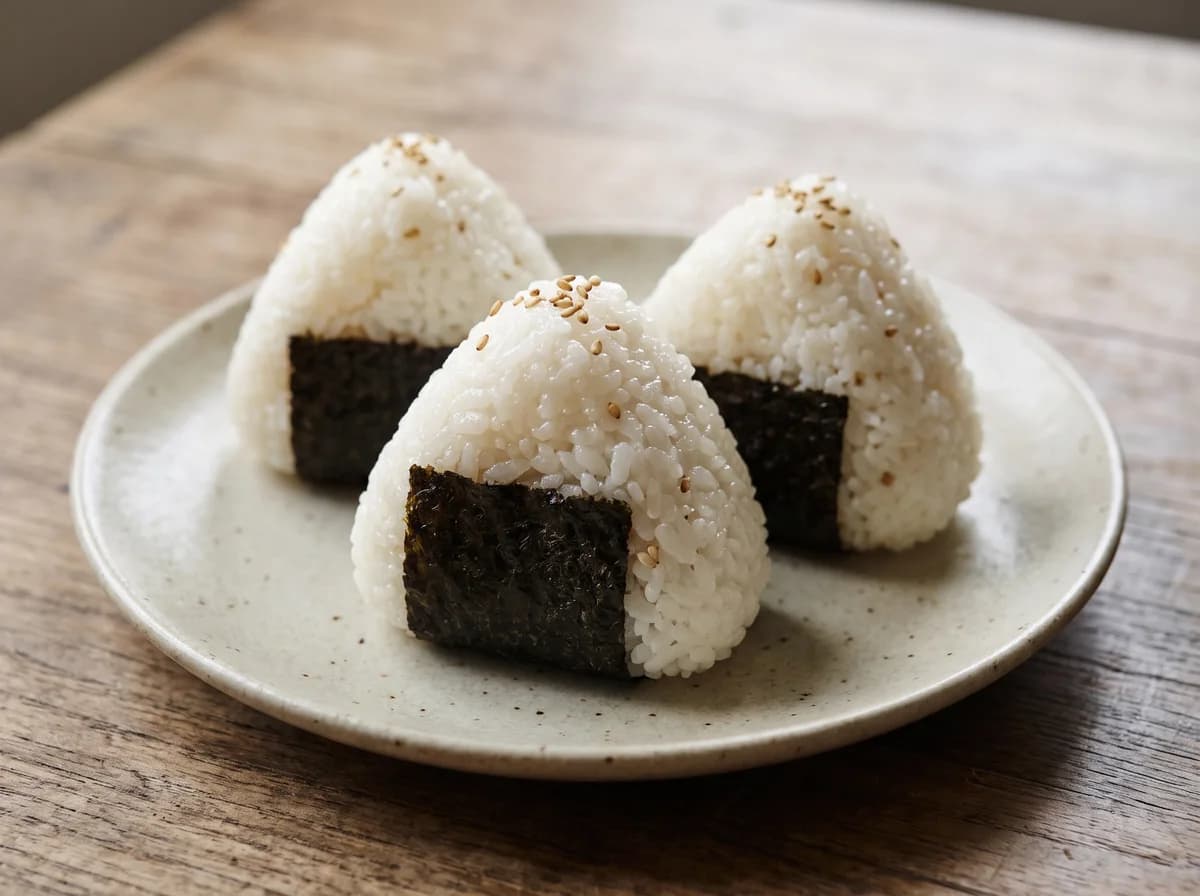
Japanese-style rice balls with a creamy tuna-mayo center, shaped into compact triangles and wrapped with nori. This recipe makes 6 onigiri, best eaten the day they are made. The rice is seasoned lightly so the tuna filling and seaweed stay the focus.
Estimated calories and US ingredient costs.
This recipe scales well by keeping the rice-to-filling ratio consistent. For a larger batch, cook the rice in a wide pot so it steams evenly, and shape while still warm. Do not change the resting time after cooking, and avoid overcrowding the shaping station because warm rice becomes harder to handle as it cools.
Your whole cook, in one place.
Ingredients, steps and a live timeline. Ready for 6 people.
Step timeline
Cooking order
10 leftRinse and cook the rice
~15 min cookRinse and cook the rice.
Rinse 2 cups Japanese short-grain rice in a bowl of cold water, swishing and draining until the water looks much less cloudy.
Add the rice and 2 1/2 cups water to a medium saucepan, cover, and bring to a boil over medium-high heat.
Reduce to low and cook covered for 15 minutes without lifting the lid
Ingredients
- 2 cups total for recipeJapanese short-grain white rice, uncooked
- 2 1/2 cupsWater
Turn off the heat and let it stand covered
After ~15 minTurn off the heat and let it stand covered for 10 minutes so the grains finish steaming evenly.
Season the rice lightly
~2 minSeason the rice lightly.
While the rice rests, stir together 3 tbsp rice vinegar, 1 tsp sugar, and 1/2 tsp salt until dissolved.
Transfer the hot rice to a wide bowl and sprinkle the vinegar mixture over it.
Use a rice paddle or spoon to fold and cut through the rice gently for 1 to 2 minutes, trying not to mash the grains.
Fan the rice briefly or spread it out until warm, not steaming hot.
Ingredients
- 2 cups total for recipeJapanese short-grain white rice, uncooked
- 3 tbspRice vinegar
- 1 tspSugar
- 1/2 tspFine salt

Mix the tuna filling
~3 minMix the tuna filling.
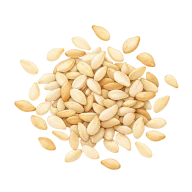
In a small bowl, combine 1 can drained tuna, 2 tbsp Japanese mayonnaise, 1 tsp soy sauce, 1 tbsp minced scallion, and 1 tsp toasted sesame seeds.
Flake the tuna with a fork so the filling holds together but still has some texture.
If the mixture looks loose, let it sit for 2 to 3 minutes so the rice absorbs a little moisture.
Ingredients
- 2 cups total for recipeJapanese short-grain white rice, uncooked
- 1 can total for recipe(5 oz) tuna in water
- 2 tbspJapanese mayonnaise
- 1 tspSoy sauce
- 1 tbspScallion
- 1 tspToasted sesame seeds

Prepare the shaping station
~5 minPrepare the shaping station.
Cut 3 sheets nori into 6 strips total, then set out a small bowl of water and grease your palms lightly with about 1 tsp neutral oil if the rice is sticky.
Have a tray or plate ready for the finished onigiri.
Keep the rice covered with a clean towel so it does not dry out while you shape.
Fill and shape the first half
~5 minFill and shape the first half.
Scoop about 1/2 cup warm rice into one palm and make a shallow well in the center.
Add about 1 generous tbsp tuna filling, then cover with another small scoop of rice.
Mold it into a tight triangle or round mound by pressing gently with both hands.
Use firm but careful pressure so the rice holds together without turning dense.
Ingredients
- 2 cups total for recipeJapanese short-grain white rice, uncooked
- 1 can total for recipe(5 oz) tuna in water
Finish shaping all rice balls
~5 minFinish shaping all rice balls.
Repeat with the remaining rice and filling to make 6 onigiri total.
If the outside cracks, moisten your hands slightly and press again.
For a neater shape, pack the sides first, then flatten the top and bottom edges into a triangle.
Set each onigiri seam-side down on the tray as you go.
Ingredients
- 2 cups total for recipeJapanese short-grain white rice, uncooked
Wrap with nori
~5 minWrap with nori.
Wrap each onigiri with one strip of nori just before serving so the seaweed stays crisp.
If you want the classic banded look, place the nori on the lower third of the triangle, leaving some rice exposed on top.
For packed lunches, wait until the rice cools fully before wrapping so the nori softens less quickly.
Ingredients
- 2 cups total for recipeJapanese short-grain white rice, uncooked
Serve and finish
~4 minIf desired, sprinkle the tops with a few extra sesame seeds from the filling bowl.
For the best texture, keep the rice compact enough to hold together but not so tight that it becomes gummy or heavy.
Serve meal
~1 minOnce all dishes are cooked and ready, plate and serve the meal together.
Tuna onigiri: Serve and finish.
Tuna onigiri: Arrange the tuna onigiri on a plate
Tuna onigiri: serve at room temperature.
Make the next one yours.
Create a custom meal with what you have.
Read the traditional recipe
Ingredients
For 6 people
- 2 cups Japanese short-grain white rice, uncooked
- 2 1/2 cups water
- 3 tbsp rice vinegar
- 1 tsp sugar
- 1/2 tsp fine salt
- 1 can (5 oz) tuna in water, drained
- 2 tbsp Japanese mayonnaise
- 1 tsp soy sauce
- 1 tbsp minced scallion
- 1 tsp toasted sesame seeds
- 3 sheets nori, each cut into 2 strips
- 1 tsp neutral oil for greasing hands and mold, if needed
Method
- Rinse and cook the riceRinse 2 cups Japanese short-grain rice in a bowl of cold water, swishing and draining until the water looks much less cloudy. Add the rice and 2 1/2 cups water to a medium saucepan, cover, and bring to a boil over medium-high heat. Reduce to low and cook covered for 15 minutes without lifting the lid. Turn off the heat and let it stand covered for 10 minutes so the grains finish steaming evenly.
- Season the rice lightlyWhile the rice rests, stir together 3 tbsp rice vinegar, 1 tsp sugar, and 1/2 tsp salt until dissolved. Transfer the hot rice to a wide bowl and sprinkle the vinegar mixture over it. Use a rice paddle or spoon to fold and cut through the rice gently for 1 to 2 minutes, trying not to mash the grains. Fan the rice briefly or spread it out until warm, not steaming hot.
- Mix the tuna fillingIn a small bowl, combine 1 can drained tuna, 2 tbsp Japanese mayonnaise, 1 tsp soy sauce, 1 tbsp minced scallion, and 1 tsp toasted sesame seeds. Flake the tuna with a fork so the filling holds together but still has some texture. If the mixture looks loose, let it sit for 2 to 3 minutes so the rice absorbs a little moisture.
- Prepare the shaping stationCut 3 sheets nori into 6 strips total, then set out a small bowl of water and grease your palms lightly with about 1 tsp neutral oil if the rice is sticky. Have a tray or plate ready for the finished onigiri. Keep the rice covered with a clean towel so it does not dry out while you shape.
- Fill and shape the first halfScoop about 1/2 cup warm rice into one palm and make a shallow well in the center. Add about 1 generous tbsp tuna filling, then cover with another small scoop of rice. Mold it into a tight triangle or round mound by pressing gently with both hands. Use firm but careful pressure so the rice holds together without turning dense.
- Finish shaping all rice ballsRepeat with the remaining rice and filling to make 6 onigiri total. If the outside cracks, moisten your hands slightly and press again. For a neater shape, pack the sides first, then flatten the top and bottom edges into a triangle. Set each onigiri seam-side down on the tray as you go.
- Wrap with noriWrap each onigiri with one strip of nori just before serving so the seaweed stays crisp. If you want the classic banded look, place the nori on the lower third of the triangle, leaving some rice exposed on top. For packed lunches, wait until the rice cools fully before wrapping so the nori softens less quickly.
- Serve and finishArrange the tuna onigiri on a plate and serve at room temperature. If desired, sprinkle the tops with a few extra sesame seeds from the filling bowl. For the best texture, keep the rice compact enough to hold together but not so tight that it becomes gummy or heavy.
Before you cook
What to get ready
Lidded rice pot, mixing bowl, rice paddle and mold or clean hands for shaping.
Use Japanese short-grain rice and drain the tuna filling well before shaping.
If something needs adjusting
Rice balls fall apart
Shape while rice is comfortably warm, use moderate pressure and avoid overfilling the center.
Nori becomes chewy
Keep it dry and separate until just before serving. Warm rice and wet filling soften seaweed quickly.
Store for later
Refrigerate filled rice balls promptly; vinegar in this recipe does not make them shelf-stable. Keep cold for transport and add nori at serving; refrigerated rice will be firmer.
Refrigerate perishables within 2 hours, or 1 hour above 90°F. Keep the fridge at 40°F or below; use refrigerated leftovers within 3–4 days. USDA storage and reheating guidance.
Make the ingredients go further
Keep nori separate until eating so unused sheets stay crisp for ramen.
Next use for your ingredients: Tonkotsu ramen →
Calculate this meal with your own prices →
Cooking notes updated October 24, 2026. How we create recipes.
Tips, swaps and questions
A little kitchen know-how
Warm rice shapes more cleanly than cold rice, but it should not be steaming hot when you add the tuna filling. If the rice sticks stubbornly, wet your hands first, then rub on a tiny amount of neutral oil. For a cleaner lunchbox result, wrap the nori separately and add it right before eating.
Make it work for you
If you prefer a sharper filling, replace the Japanese mayonnaise with regular mayonnaise plus 1/4 tsp rice vinegar. For a different texture, add 1 tbsp finely chopped cucumber that has been patted dry, but do not add more or the filling may leak from the rice. Brown rice can work, though it will need a little extra water and will form less smoothly.
Use more of your rice vinegar and soy sauce in hainanese chicken rice.
Can I make tuna onigiri ahead of time?
Yes, but the texture is best the day they are made. Store them wrapped in the refrigerator for up to 1 day, then let them sit briefly at cool room temperature only if needed for eating. Keep leftovers refrigerated at 40°F or below and reheat neither the rice nor the filling; onigiri are meant to be eaten chilled or at room temperature. Do not leave them out longer than 2 hours total.
Times are estimates. Check ingredients for allergens. For safe temperatures and storage, see FoodSafety.gov.