Oyakodon
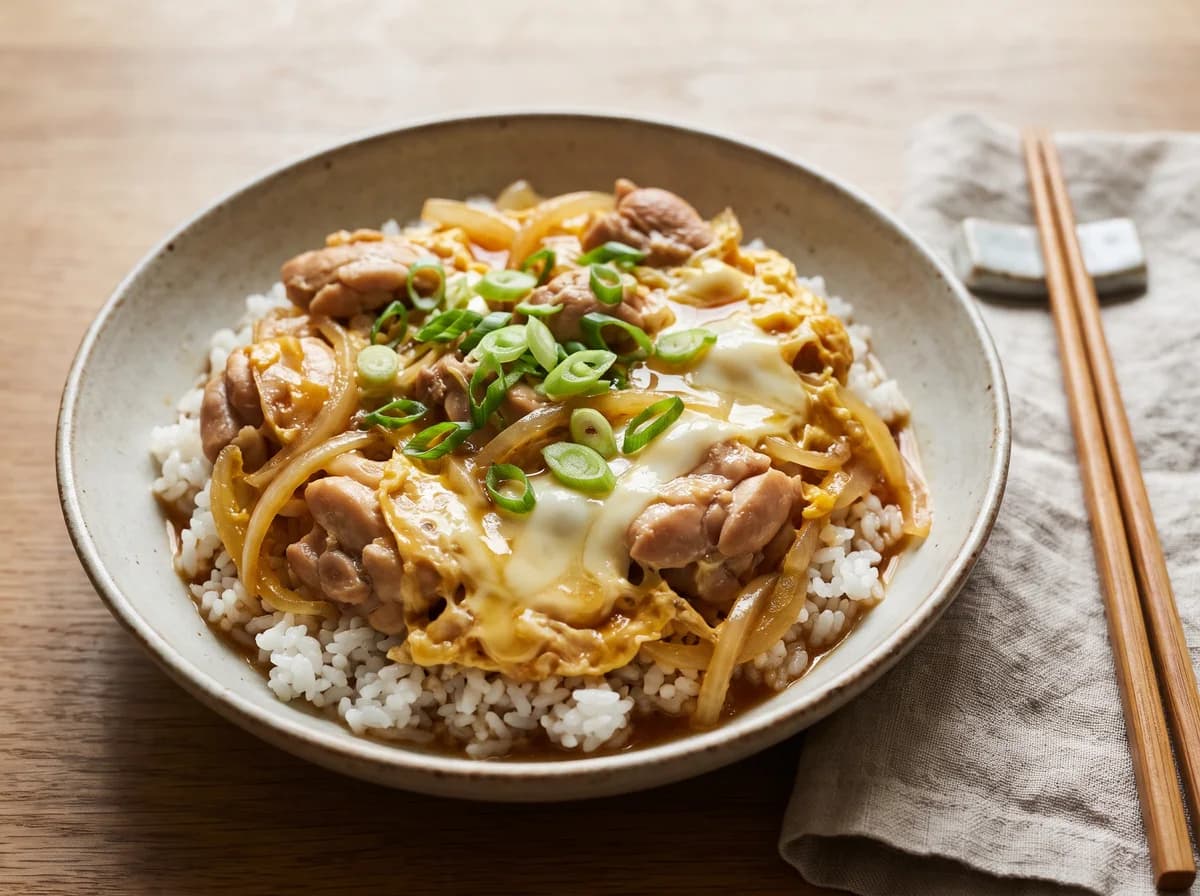
Makes 2 bowls. Oyakodon combines tender chicken, sweet onion, and softly set eggs in a soy-dashi sauce spooned over hot short-grain rice. This version keeps the onions tender and the eggs custardy by simmering the chicken first, then adding beaten eggs in two stages so the finished bowls stay glossy and juicy, not dry.
Estimated calories and US ingredient costs.
For 4 servings, cook the filling in a 12-inch skillet or in two batches so the chicken and egg stay in a shallow layer. Do not simply double the pan size and keep the same cooking time, because a crowded skillet lengthens the simmer and makes the eggs set unevenly.
Your whole cook, in one place.
Ingredients, steps and a live timeline. Ready for 2 people.
Step timeline
Cooking order
9 leftCook the rice
~15 min cookCook the rice.
Rinse 1 cup uncooked short-grain white rice in a bowl until the water runs mostly clear, then drain well.
Combine the rice and 1 1/4 cups water in a 2-quart saucepan with a tight lid.
Bring to a boil over medium-high heat, immediately cover, reduce to low, and cook for 15 minutes without lifting the lid
Ingredients
- 1 cupUncooked short-grain white rice
- 1 1/4 cupsWater
Remove from the heat and let it stand, covered
After ~15 minRemove from the heat and let it stand, covered, for 10 minutes while you make the oyakodon filling.
Mix the sauce and prep the filling
~9 minMix the sauce and prep the filling.
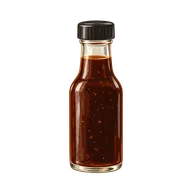
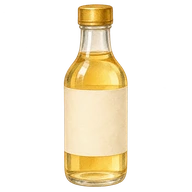
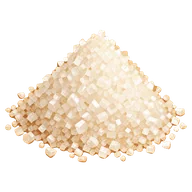
In a 2-cup measuring cup or small bowl, whisk together 1 cup dashi, 2 tbsp soy sauce, 2 tbsp mirin, and 1 tsp granulated sugar until the sugar dissolves.
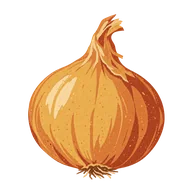
Slice 4 oz yellow onion thinly, cut 8 oz boneless skinless chicken thighs into 1-inch pieces, and beat 4 large eggs in a bowl just until the whites and yolks are loosely combined with a few streaks still visible.
Ingredients
- 8 oz total for recipeBoneless skinless chicken thighs
- 4 ozYellow onion
- 1 cupDashi
- 2 tbspSoy sauce
- 2 tbspMirin
- 1 tspGranulated sugar
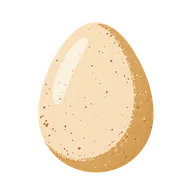
- 4Large eggs, lightly beaten
Start the onion
~4 minStart the onion.
Set a 10-inch skillet over medium heat and pour in the dashi mixture.
Add the sliced onion and bring the liquid to a gentle simmer.
Cook for 3 to 4 minutes, stirring once or twice, until the onion starts to turn translucent and the pan smells sweet and savory.
Ingredients
- 4 oz total for recipeYellow onion
Simmer the chicken
~5 minSimmer the chicken.
Add the chicken pieces in a single layer.
Keep the skillet at a gentle simmer, not a hard boil, and cook for 4 to 5 minutes, turning the pieces once, until the chicken is opaque on the outside and the center of the thickest piece reaches 165 F and the sauce has reduced slightly but still looks loose enough to spoon over rice.
Ingredients
- 8 oz total for recipeBoneless skinless chicken thighs
Add most of the eggs
~1 minAdd most of the eggs.
Reduce the heat to medium-low.
Drizzle 3 of the beaten eggs over the chicken and onion in a thin stream, aiming for open spots across the surface rather than stirring.
Cover the skillet and cook for 30 seconds, just until the edges begin to set and the center is still soft and shiny.
Ingredients
- 4 total for recipeLarge eggs, lightly beaten
Finish with the remaining egg
~1 minFinish with the remaining egg.
Drizzle the last egg over the top, cover again, and cook for 30 to 60 seconds more.
Stop as soon as the egg is softly set and custardy, with a little wobble still visible in the center.
If the sauce looks too thick, shake the pan gently rather than stirring so the eggs stay in soft ribbons.
Ingredients
- 4 total for recipeLarge eggs, lightly beaten
Assemble the bowls
~9 minAssemble the bowls.
Fluff the rested rice with a rice paddle or fork and divide it between 2 bowls.
Slide the chicken, onion, and egg mixture over the rice
then spoon any extra sauce from the skillet over the top.
Scatter 2 tbsp sliced scallions over both bowls
Ingredients
- 1 cup total for recipeUncooked short-grain white rice
- 8 oz total for recipeBoneless skinless chicken thighs
- 4 oz total for recipeYellow onion
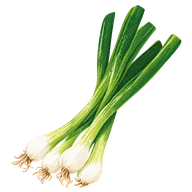
- 2 tbspScallions
Serve meal
~1 minOnce all dishes are cooked and ready, plate and serve the meal together.
Oyakodon: serve immediately while the egg is tender and the rice is hot.
Make the next one yours.
Create a custom meal with what you have.
Read the traditional recipe
Ingredients
For 2 people
- 1 cup uncooked short-grain white rice
- 1 1/4 cups water
- 8 oz boneless skinless chicken thighs, cut into 1-inch pieces
- 4 oz yellow onion, thinly sliced
- 1 cup dashi
- 2 tbsp soy sauce
- 2 tbsp mirin
- 1 tsp granulated sugar
- 4 large eggs, lightly beaten
- 2 tbsp sliced scallions
Method
- Cook the riceRinse 1 cup uncooked short-grain white rice in a bowl until the water runs mostly clear, then drain well. Combine the rice and 1 1/4 cups water in a 2-quart saucepan with a tight lid. Bring to a boil over medium-high heat, immediately cover, reduce to low, and cook for 15 minutes without lifting the lid. Remove from the heat and let it stand, covered, for 10 minutes while you make the oyakodon filling.
- Mix the sauce and prep the fillingIn a 2-cup measuring cup or small bowl, whisk together 1 cup dashi, 2 tbsp soy sauce, 2 tbsp mirin, and 1 tsp granulated sugar until the sugar dissolves. Slice 4 oz yellow onion thinly, cut 8 oz boneless skinless chicken thighs into 1-inch pieces, and beat 4 large eggs in a bowl just until the whites and yolks are loosely combined with a few streaks still visible.
- Start the onionSet a 10-inch skillet over medium heat and pour in the dashi mixture. Add the sliced onion and bring the liquid to a gentle simmer. Cook for 3 to 4 minutes, stirring once or twice, until the onion starts to turn translucent and the pan smells sweet and savory.
- Simmer the chickenAdd the chicken pieces in a single layer. Keep the skillet at a gentle simmer, not a hard boil, and cook for 4 to 5 minutes, turning the pieces once, until the chicken is opaque on the outside and the center of the thickest piece reaches 165 F and the sauce has reduced slightly but still looks loose enough to spoon over rice.
- Add most of the eggsReduce the heat to medium-low. Drizzle 3 of the beaten eggs over the chicken and onion in a thin stream, aiming for open spots across the surface rather than stirring. Cover the skillet and cook for 30 seconds, just until the edges begin to set and the center is still soft and shiny.
- Finish with the remaining eggDrizzle the last egg over the top, cover again, and cook for 30 to 60 seconds more. Stop as soon as the egg is softly set and custardy, with a little wobble still visible in the center. If the sauce looks too thick, shake the pan gently rather than stirring so the eggs stay in soft ribbons.
- Assemble the bowlsFluff the rested rice with a rice paddle or fork and divide it between 2 bowls. Slide the chicken, onion, and egg mixture over the rice, then spoon any extra sauce from the skillet over the top. Scatter 2 tbsp sliced scallions over both bowls and serve immediately while the egg is tender and the rice is hot.
Before you cook
What to get ready
Lidded rice saucepan, fork, separate pan for toppings or sauce and shallow containers for leftovers.
Slice chicken and onion uniformly and lightly beat the eggs before simmering.
If something needs adjusting
Eggs turn rubbery around the edge
Keep the broth at a gentle simmer and stop once eggs are fully set; boiling hard tightens them.
Rice is wet after the heat is turned off
Let it rest covered before fluffing. Use the liquid ratio for the rice variety specified rather than substituting a different grain without adjusting.
Store for later
Cool rice promptly in shallow portions and refrigerate with cooked components stored separately from raw toppings. Reheat to 165°F; reheating cannot make poorly stored rice safe.
Refrigerate perishables within 2 hours, or 1 hour above 90°F. Keep the fridge at 40°F or below; use refrigerated leftovers within 3–4 days. USDA storage and reheating guidance.
Make the ingredients go further
Use the same dashi and short-grain rice for gyudon.
Next use for your ingredients: Beef gyudon →
Calculate this meal with your own prices →
Cooking notes updated October 24, 2026. How we create recipes.
Tips, swaps and questions
A little kitchen know-how
For the softest oyakodon, beat the eggs only lightly and add them in two pours. A fully homogenized egg mixture sets more like scrambled eggs, while a lightly streaked mixture makes custardy yellow-and-white ribbons. Use a small skillet that fits the chicken snugly so the sauce stays shallow and concentrates instead of evaporating too fast.
Make it work for you
If you want a leaner version, swap the chicken thighs for 8 oz boneless skinless chicken breast cut slightly smaller, then shorten the final simmer by 1 to 2 minutes so it does not dry out. Breast cooks faster and benefits from a gentler simmer, while thighs can take a little more heat and stay juicier.
Use more of your short-grain white rice and yellow onion in beef gyudon.
Why does my oyakodon turn watery or bland?
Watery oyakodon usually means the pan is too wide, the heat is too low, or the sauce never reduced before the eggs went in. Use a 10-inch skillet, keep the liquid at a gentle simmer, and let the onion and chicken take on flavor before adding the eggs. Spoon the finished mixture over hot rice so the rice absorbs the extra sauce.
Times are estimates. Check ingredients for allergens. For safe temperatures and storage, see FoodSafety.gov.